eCut manual installation
Here You'll see how to install eCut button for CorelDRAW X3. For CorelDRAW X4 and X5 use same steps
First of all install eCut for CorelDRAW.
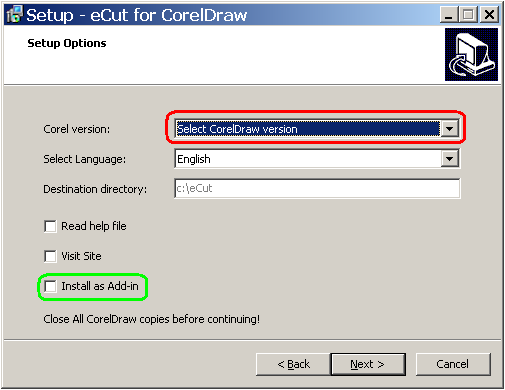
Launch Setup.exe file from ZIP file which You downloaded form site.
Select Your version of CorelDRAW and uncheck "Install as Add-in".
If there will be errors while installing rStones - ignore them (press Ignore button)
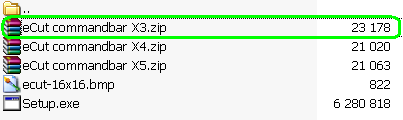
After installing eCut, open ecut.zip file (which you download from site) and unpack "eCut command X3.zip" file somewhere (for example on your desktop)
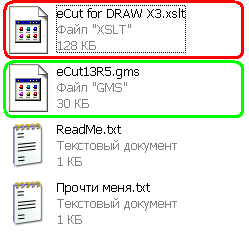
In this file you'll see GMS, XSLT and two readme files (in readme files You can find this instruction)
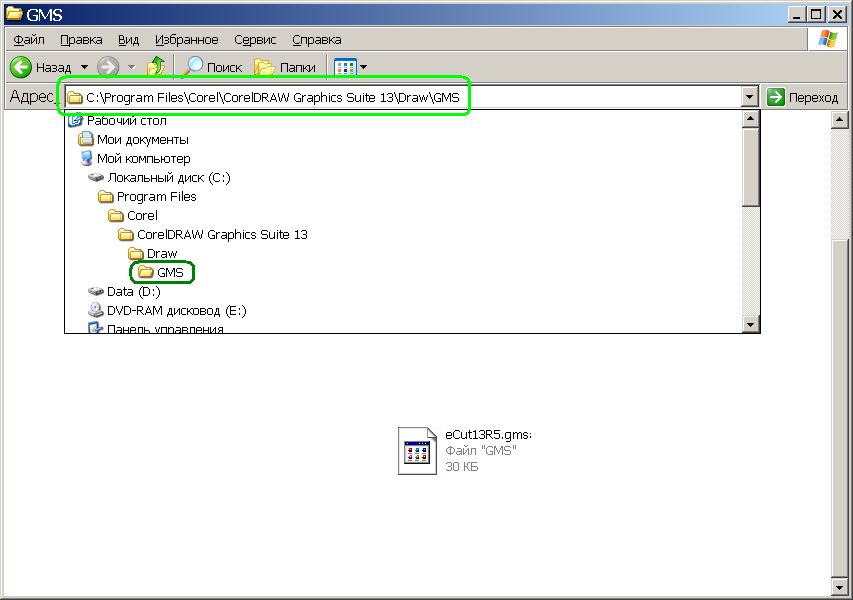
First of all you have to copy eCut13R5.GMS file to CorelDRAW GMS folder as shown.
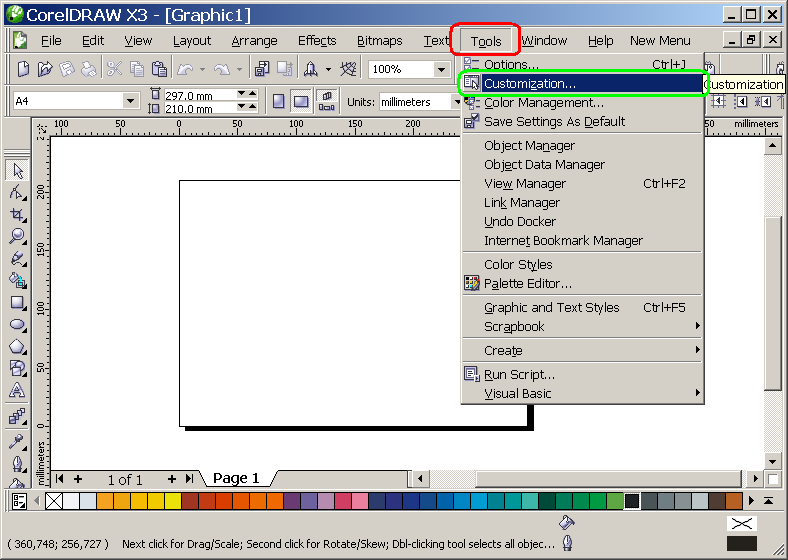
Then launch CorelDRAW and go to Tools/Customization

Select "Workspace" in top-left corner and press "Import" button
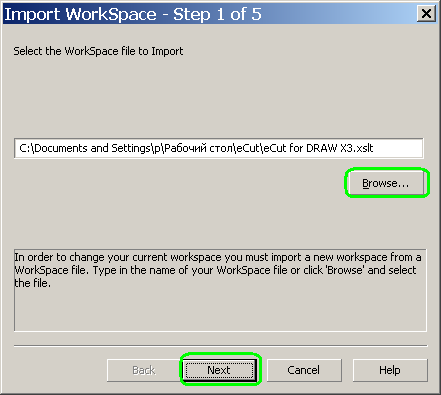
Press "Browse" button and specify path to "eCut for DRAW X3.xslt" file from unpacked "eCut commandbar X3.zip"
Press "Next"
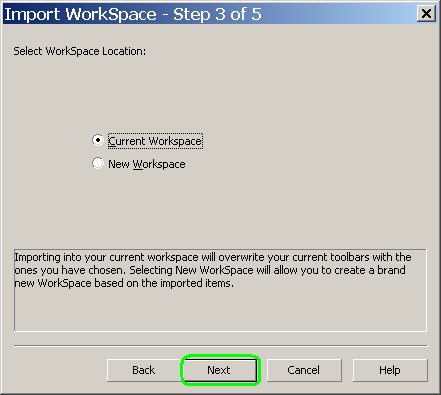
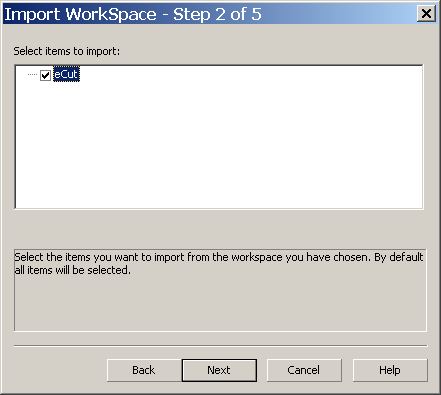
Press "Next"
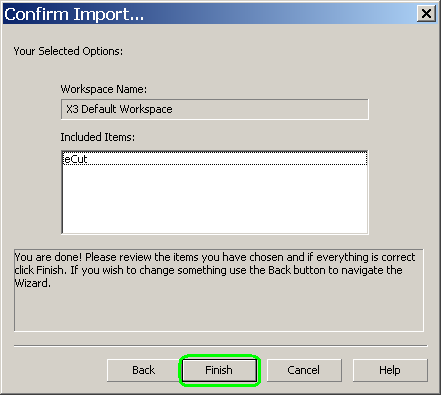
Press "Finish"

Press "OK"
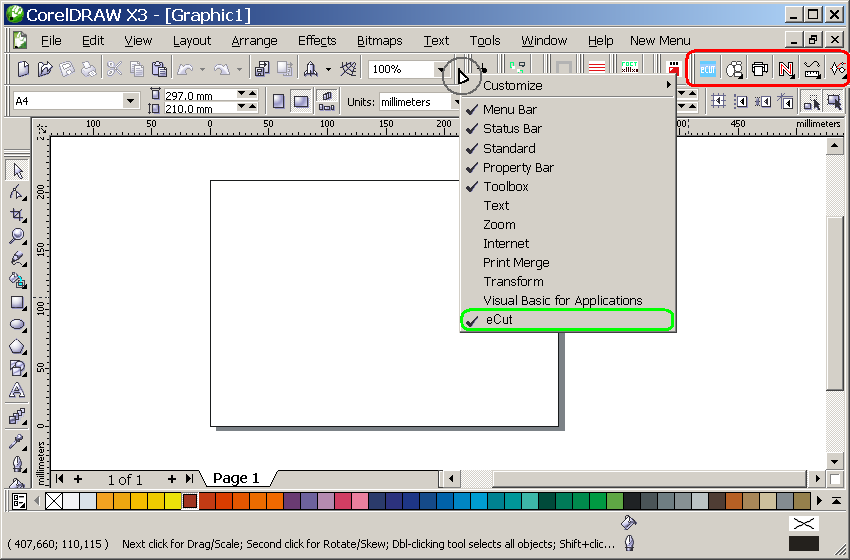
To show eCut commandbar : right click on main tool bar and in list select "eCut"
Now you can start eCut functions with one click!
Good luck to You.